I can fly !!!! mixed media painting process

Hi everyone, I am totally in love with Mary Blair's work, that Mindy Lacefield has made a part of her new class named Imagine, play, emerge, as an inspiration.
So today I will show you my process, inspired in this lovely book cover by Mary Blair.
if you like, join me and fly ;)

step 1 - Draw a curved line like the one showing in the book cover, with an oil pastel crayon.
step 2 - randomly apply acrylic paint ( I used a turquoise blue and a signal yellow) in some spots to make the ground , blend it with white acrylic paint with a dry brush.

Step 3- cut some different papers and add them to your background with gel medium or other glue you have.

Step 4- with a spatula apply an olive green on top of the papers to get this shabby look
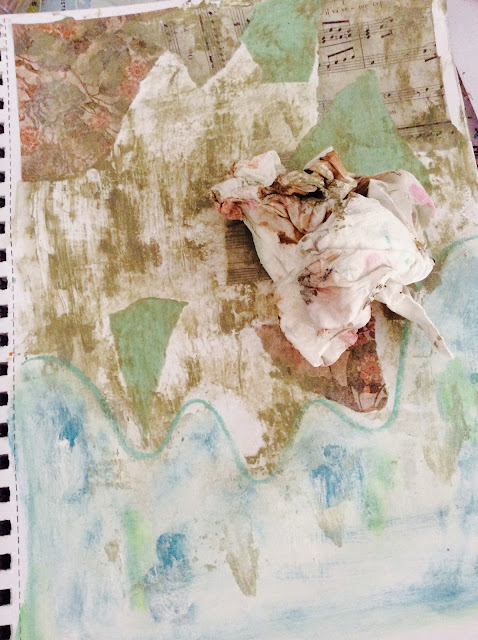
Step 5- spray with a bit of water on top of the green paint and rub it with paper towel to get a more soft look

Step 6 - add more paint to the background, I am using the liquitex paint marker, but you can make with regular acrylic paint

Step 7- I have painted this characters in silk paper with pastel and acrylic paint, so I will cut this out to apply them on my ground with gel medium.

so cute, right !!!!!

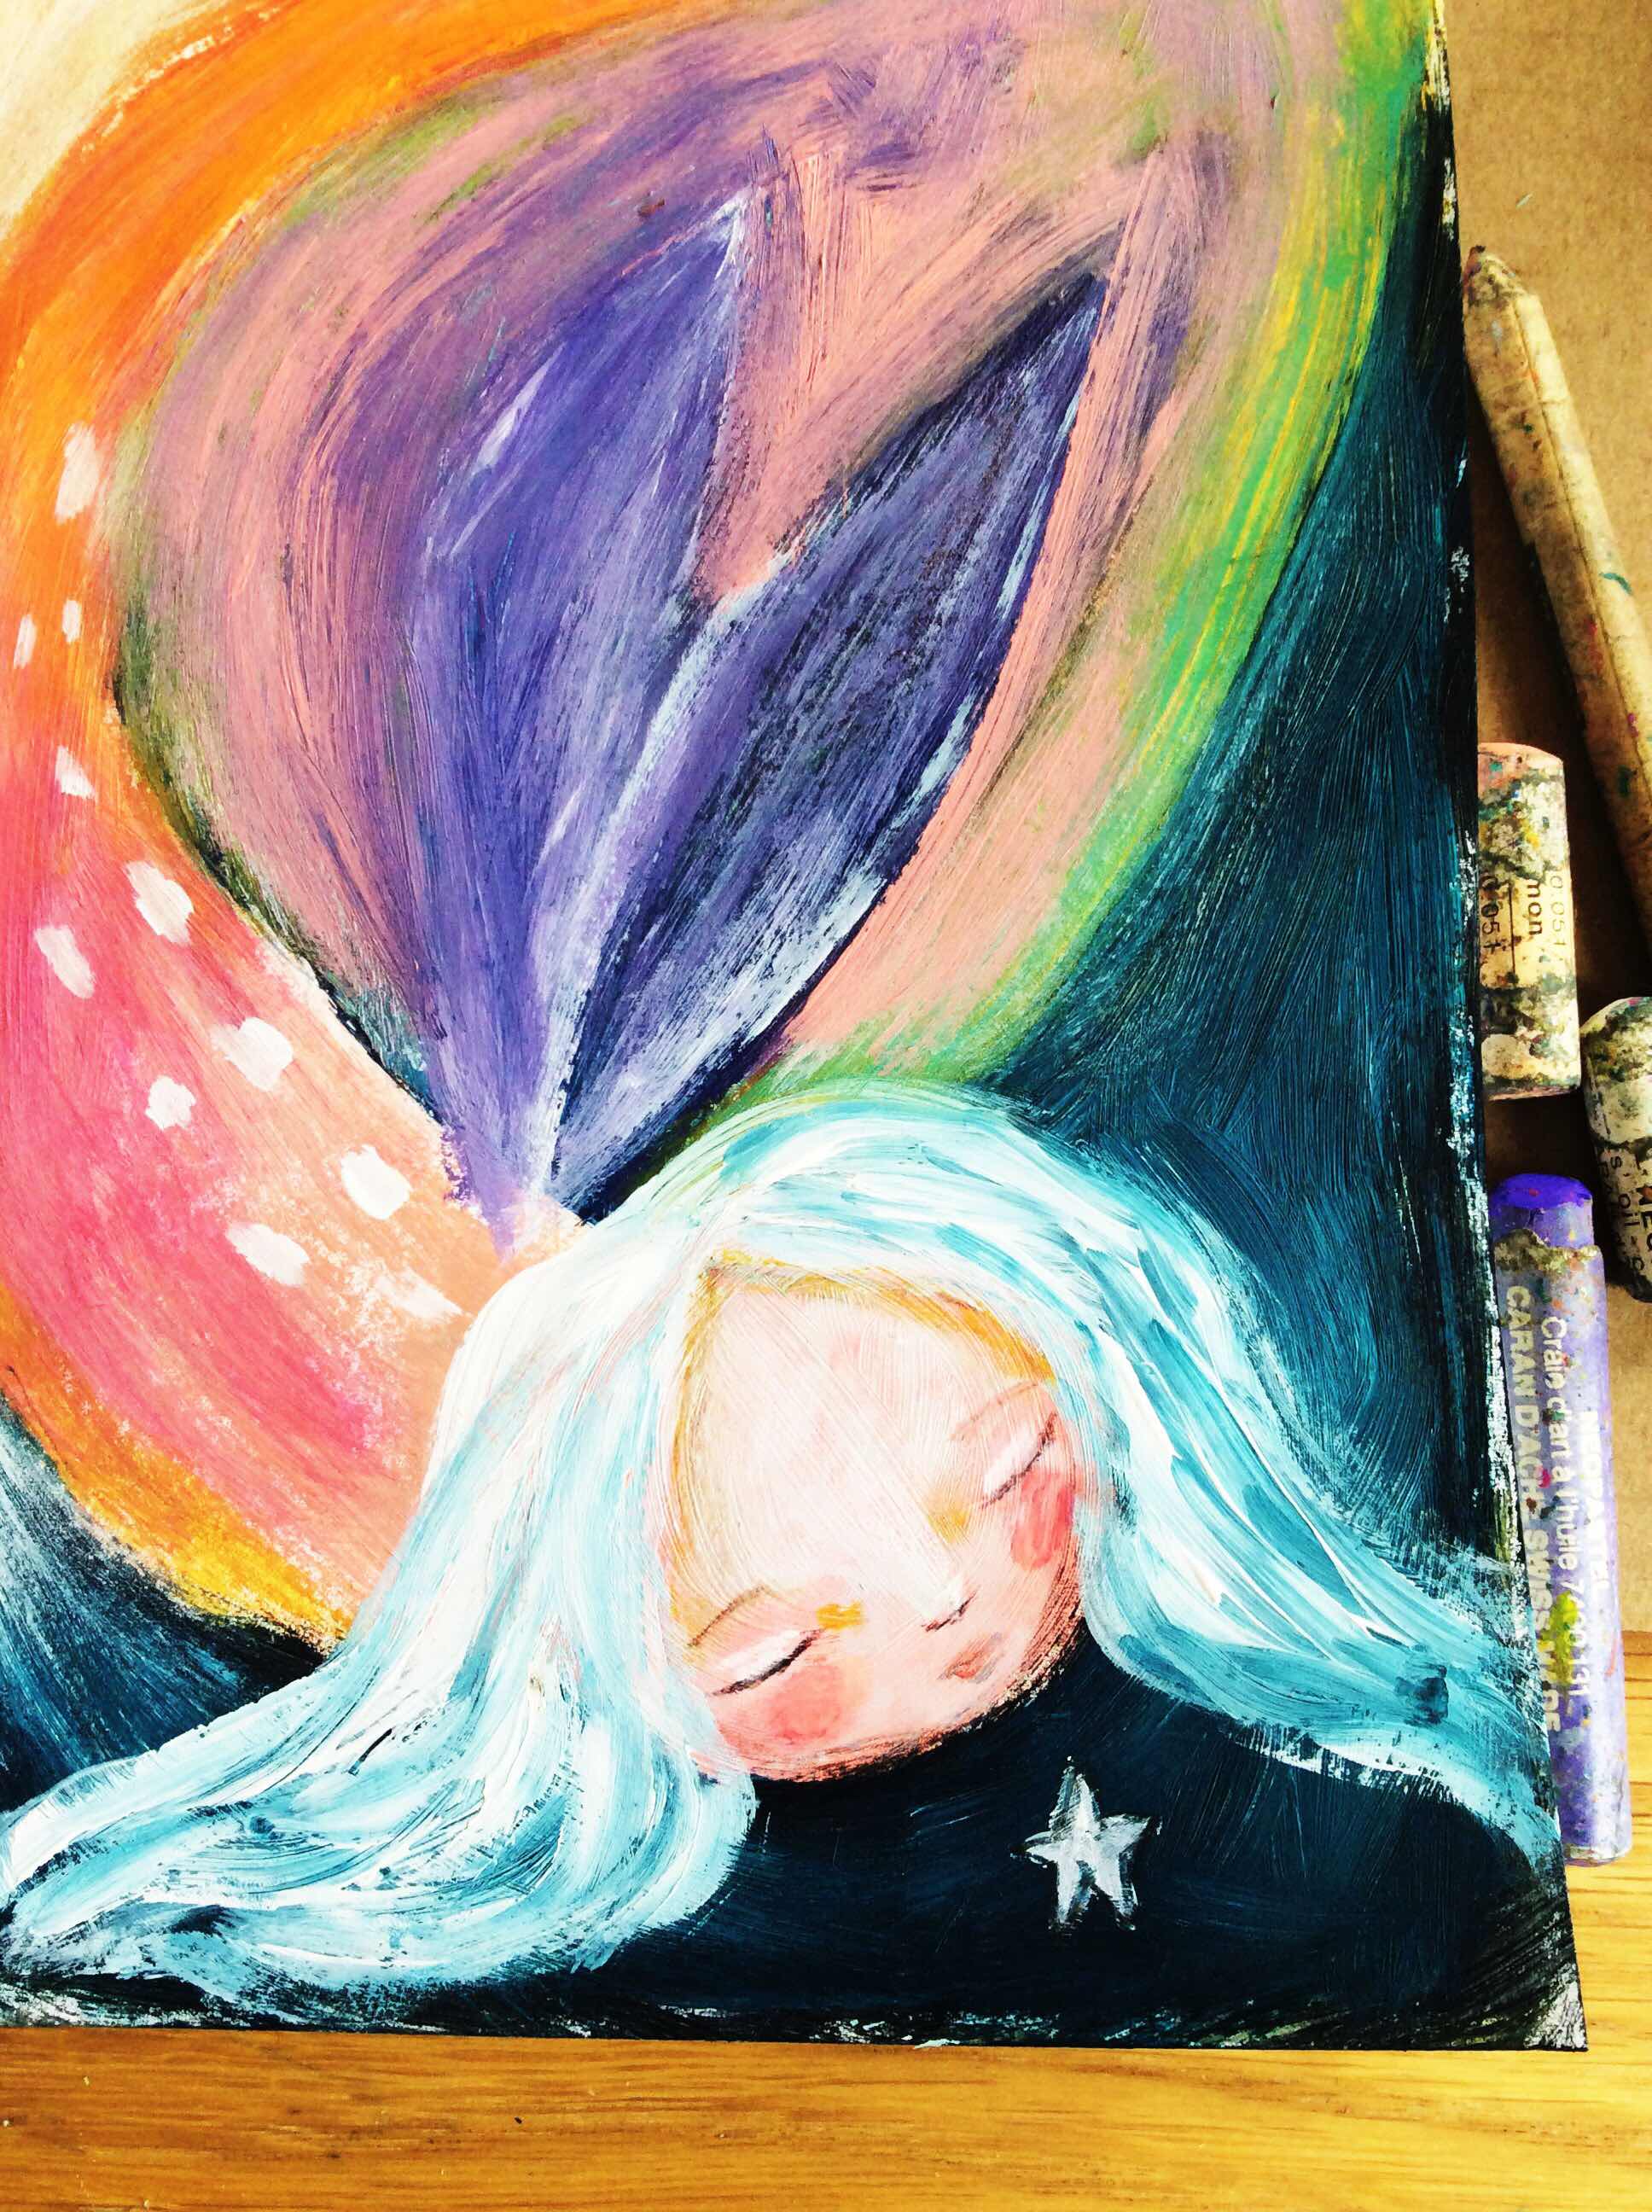
Step 7- draw your flying girl ;) and paint first the flesh tones and hair

Step 8- paint her a red dress and give some details to her hair and dress with oil pastel crayons, use the oil pastel to go around her and bring her more to the front ( I have use a creamy white and bit more of the light portrait pink paint marker)

Step 8 - draw some birds with your oil pastels in transparent silk paper, cut the out

Step 9- you are almost done, glue your birds and with a fine point brush and acrylic paint or black pen write " I can fly".
I hope you enjoyed this process, now go and fly!!!!!!!!!
xox
Susana

Lovely! I also love Mary Blair's work :) :). Thanks for the tutorial :)
ReplyDeletee se fizesse carimbos das suas meninas?... era uma maravilha ;) Adorei este seu trabalho!!
ReplyDeleteLove this! Thank you for sharing this tutorial!
ReplyDeleteI love her! I want to play too!
ReplyDeletelooks great like all the layers you have used
ReplyDelete